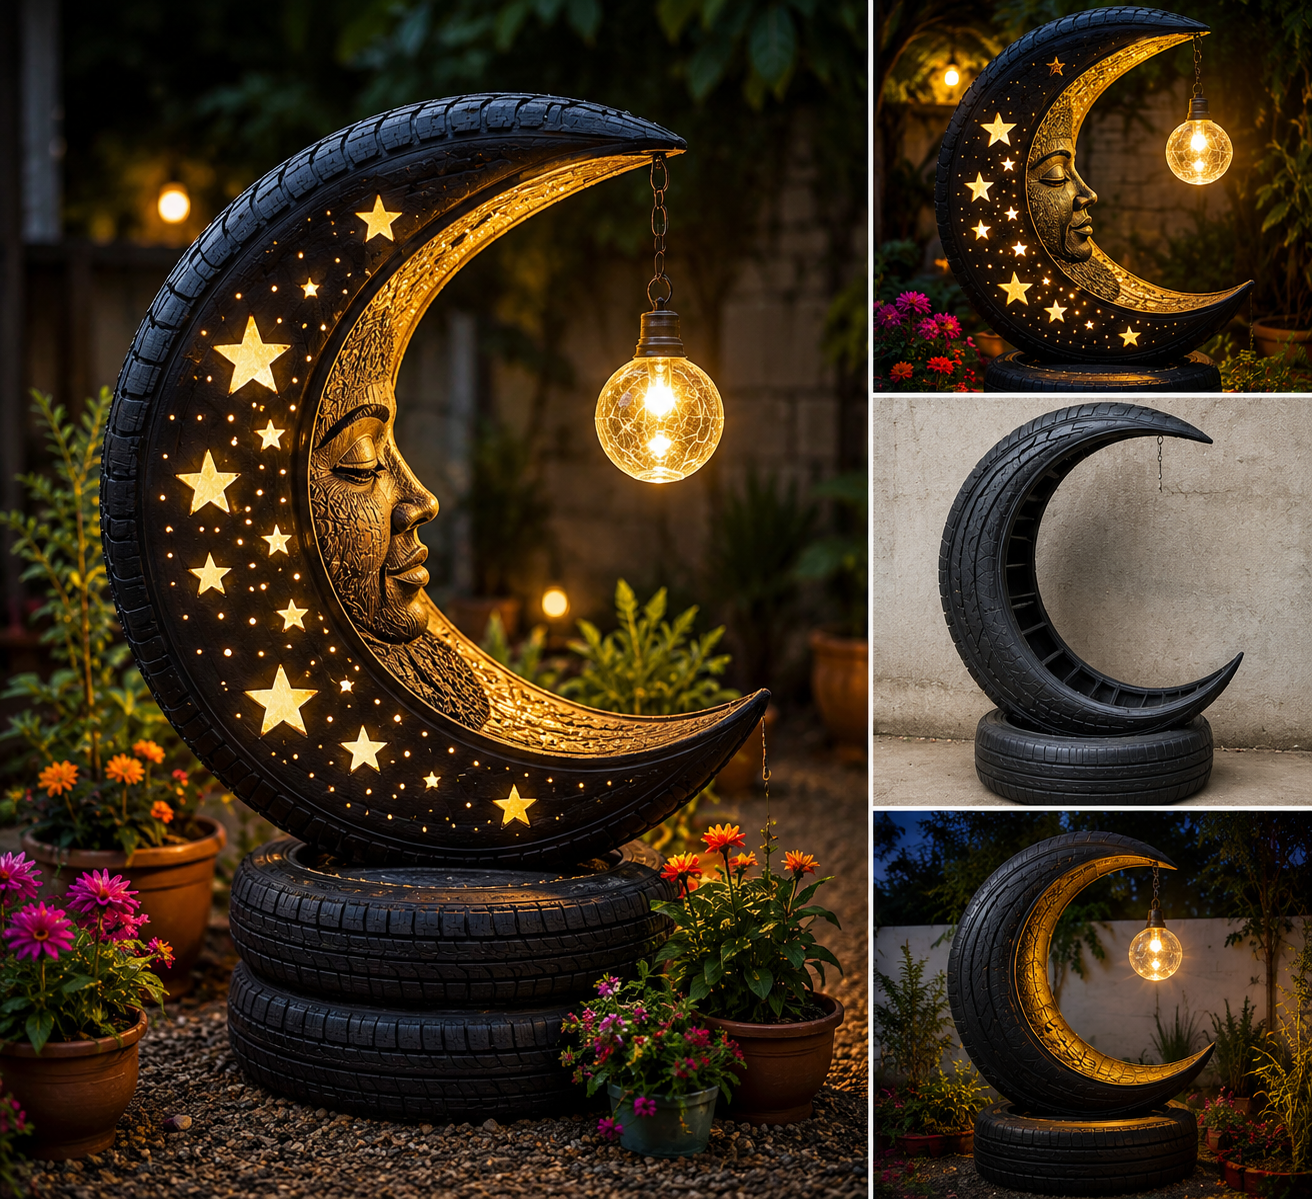
Upcycling old tires into beautiful garden décor is one of the most creative ways to reduce waste while adding a magical touch to your outdoor space. The crescent moon sculpture shown in the image is a perfect example of how discarded tires can be transformed into an eye-catching piece of garden art that looks both elegant and expensive.
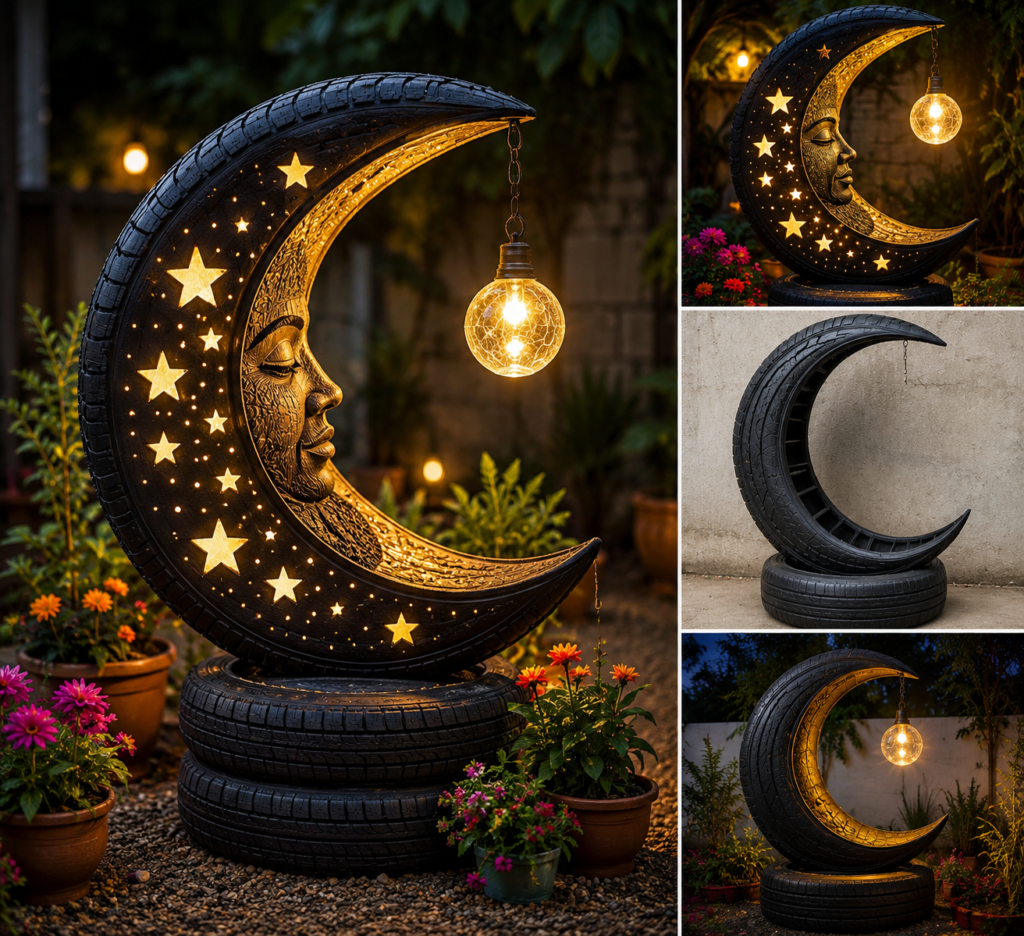
If you’ve ever wondered how such a decorative moon lamp is made and what materials are required, this detailed guide will walk you through the entire process.
Why Recycle Old Tires?
Millions of tires are discarded every year. Instead of sending them to landfills, they can be transformed into:
- Garden planters
- Outdoor furniture
- Decorative sculptures
- Lighting fixtures
- Playground equipment
- Landscaping features
The crescent moon design is especially popular because it creates a dreamy, celestial atmosphere that looks amazing during the evening.
Materials Needed
To build a moon-shaped tire sculpture like this, you’ll need:
Main Structure
✔ Old car tire (preferably in good condition)
✔ Extra tire for the base
✔ Steel rods or metal frame
✔ Welding equipment (optional)
✔ Heavy-duty screws and brackets
Decorative Materials
✔ Exterior-grade black paint
✔ Gold metallic paint
✔ LED warm light strip
✔ Star-shaped cutouts or stencil
✔ Decorative carvings
✔ Weather-resistant sealant
Lighting Components
✔ LED bulb
✔ Solar-powered light kit or electric fitting
✔ Hanging chain
✔ Waterproof wiring
Garden Decoration
✔ Flower pots
✔ Gravel or decorative stones
✔ Small plants
✔ Outdoor landscaping lights
Step 1: Creating the Crescent Moon Shape
The most important part is shaping the tire.
A standard tire is first cleaned thoroughly to remove dirt and grease.
Next:
- Mark the crescent moon outline.
- Cut away the unwanted sections.
- Reinforce the shape using metal rods inside.
- Secure everything firmly.
The curved sidewall of the tire naturally helps create the moon shape.
Professional builders often heat and reshape sections slightly to achieve a smoother curve.
Step 2: Building a Strong Base
The moon sculpture must remain stable outdoors.
The base can be made using:
- Two stacked tires
- Concrete foundation
- Metal stand
In the image, multiple tires are stacked together, creating both support and a decorative platform.
The base is then painted black to match the moon structure.
Step 3: Adding Artistic Details
This is what transforms an ordinary tire into a luxury garden feature.
The artist typically:
- Carves moon-face details
- Creates engraved patterns
- Adds celestial textures
- Designs star shapes
The face inside the moon gives the sculpture a mystical appearance.
These carvings can be done using:
- Rotary tools
- Wood carving tools
- Metal engraving tools
After carving, gold paint is applied to highlight the details.
Step 4: Installing LED Lighting
Lighting is what makes this project truly magical.
Recommended Lighting
✅ Warm white LED bulb
✅ Solar-powered LED light
✅ Waterproof LED strip
The hanging globe light in the center acts like a glowing moon lantern.
Warm lighting creates a cozy atmosphere and enhances the gold accents.
Avoid cool white LEDs because they can make the sculpture look harsh and less inviting.
Step 5: Creating the Star Effect
The glowing stars are made by:
- Drilling star-shaped holes.
- Installing LED lights behind them.
- Using laser-cut decorative inserts.
When illuminated at night, these openings create a beautiful constellation effect.
The combination of stars and moonlight instantly transforms an ordinary garden into a fairy-tale setting.
Step 6: Painting and Finishing
The finishing stage is crucial.
Paint Layers
First Coat
- Exterior primer
Second Coat
- Matte black paint
Third Coat
- Metallic gold highlights
Final Coat
- UV-resistant clear sealant
This protects the sculpture from:
- Rain
- Sunlight
- Dust
- Moisture
A proper finish can help the piece last for many years outdoors.
Step 7: Landscaping Around the Moon
The flowers surrounding the sculpture make a huge difference.
Great plant choices include:
🌸 Petunias
🌸 Marigolds
🌸 Zinnias
🌸 Geraniums
🌸 Lavender
Adding colorful flowers around the base creates contrast against the dark tire structure.
Decorative gravel and pathway lights further enhance the visual appeal.
Estimated Cost
| Item | Approximate Cost |
|---|---|
| Old Tires | Free–$20 |
| Paint | $20–$40 |
| LED Lights | $15–$50 |
| Metal Supports | $20–$60 |
| Decorative Materials | $20–$50 |
| Plants & Pots | $30–$100 |
Total DIY Cost: Approximately $100–$300
A professionally made version could easily sell for $500–$1,500 or more because of the artistic craftsmanship involved.
Final Thoughts
This recycled tire crescent moon lamp proves that creativity can turn waste into art. With a few old tires, some lighting, paint, and imagination, you can create a breathtaking garden centerpiece that looks straight out of a luxury landscape design magazine.
The best part is that every piece becomes unique. By experimenting with different carvings, colors, lighting effects, and surrounding plants, you can create a one-of-a-kind moon sculpture that makes your backyard feel magical every evening.
🌙 What was once an old tire can become the brightest star of your garden. ✨